The brief for this exercise was to find a scene with depth and from a fixed position, take a sequence of five or six shots at different focal lengths without changing viewpoint.
A number of examples of how zooming in on images has been used in film were provided in the course notes as well as the suggestion that we research Hobein’s The Ambassadors’s found at Google’s Arts and Cultures website.
After examining The Ambassadors’ and noticing the cracks and dust motes when maximum magnification of the painting was used I went on to look at a number of other images to see what the result of zooming in on these paintings would be.
Research
The mysterious wedding in Pistoia
Kristian Zahrtmann 1894
https://artsandculture.google.com/asset/the-mysterious-wedding-in-pistoia/rAGUBmNnmL8TfQ
Zooming in on this image, around the area of the throne in the centre and the figures appear to have distinct faces. Continuing to zoom in on some of the figures results in the faces resolving themselves into brush strokes that give the rough shape of eyes, noses etc. but without any real detail.
Coming from the Mill
L. S. Lowry 1930 – 1930
https://artsandculture.google.com/asset/coming-from-the-mill/CgHDlsWICwQAvQ
Zooming in on this image allows you to see the individual brush strokes. Some things in the painting resolve into just blocks of colour but other items like the telegraph poles can still be made out as what they are. The wires running between them also resolve into individual lines when viewed close up.
Under the Yoke (Burning the Brushwood)
Eero Järnefelt 1893
https://artsandculture.google.com/asset/under-the-yoke-burning-the-brushwood/TgE5-s2gPkOE6Q
When you zoom in on parts of the image you can clearly see cracks and dust. You also lose any level of detail. For instance the faces of the people in the background turn into blobs of colour.
However, if you zoom in on the two main figures the level of detail is incredible.
When examining the figure of the man it is possible to see individual hair on his head because of the brush strokes.
When zooming in on the girl, if you look at the tear in her top you can see the frayed edges of the material, even at the maximum zoom. Her eyes are also very clear with the points of light shining in them having very similar shapes, almost as if you can see the reflection of a horse in them.
The description that goes with image highlights that the artist had painted a reproachful look on her face but as I zoomed in on the image I felt that the look was not so much reproachful but sorrowful.
Parson Weems’ Fable
Grant Wood 1939
https://artsandculture.google.com/asset/parson-weems-fable/SwHq47XAgCz28Q
Zooming in on this image does result in the image resolving to colour and lines (the grass) but does show glints of light on the cherries in the tree at the front of the picture.
For me the interesting thing was the level of detail in the slaves attending to the cherry tree in the background. Zooming in on the male, it was possible to see enough detail to get an idea of how the painter visualised his hair would look.
Reflecting on the images of the paintings above I’m reminded of the TV programme Fake or Fortune and the lengths that art experts will go to in order to verify the authenticity of a painting. Brush strokes, pigments, even cracks in canvas are signs that help identify whether a painting is by a famous artist.
Looking in detail at film photographs would eventually break down to just being able to see the grain of the film.
Digital photographs break down to individual pixels. Modern image manipulation software allows us to make changes at this level. The possibilities that this offers are, while not endless, are varied.
Response to Brief
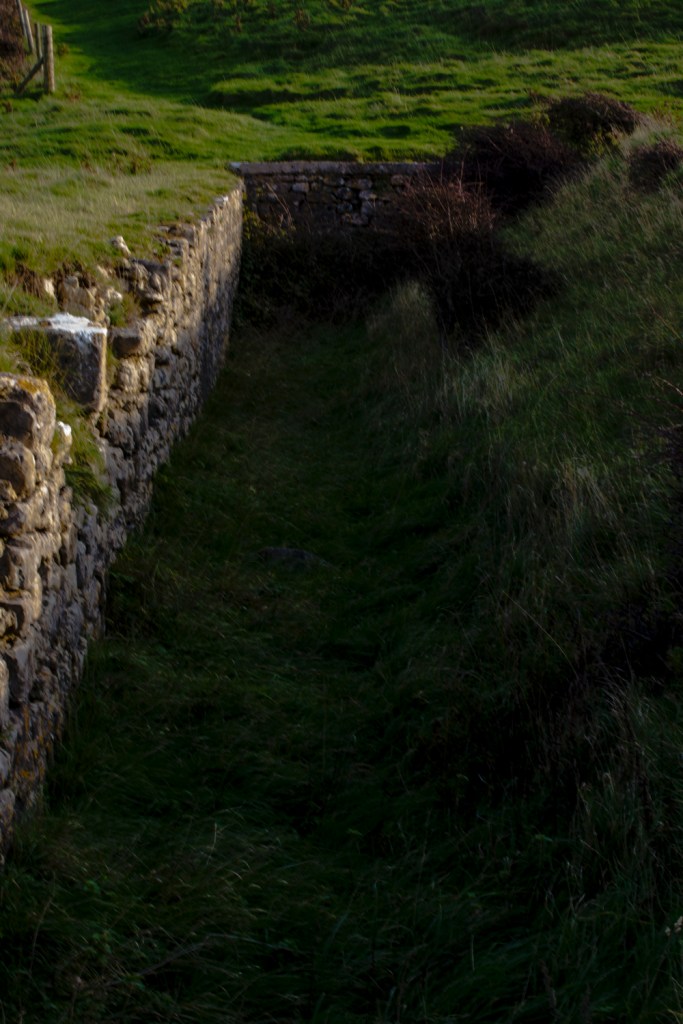
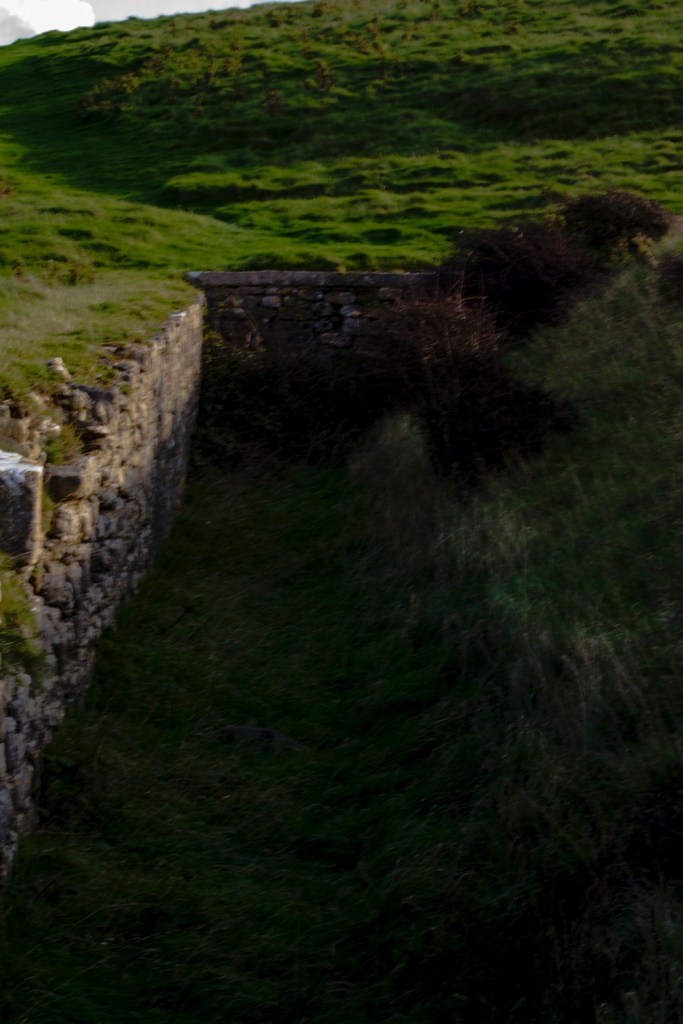
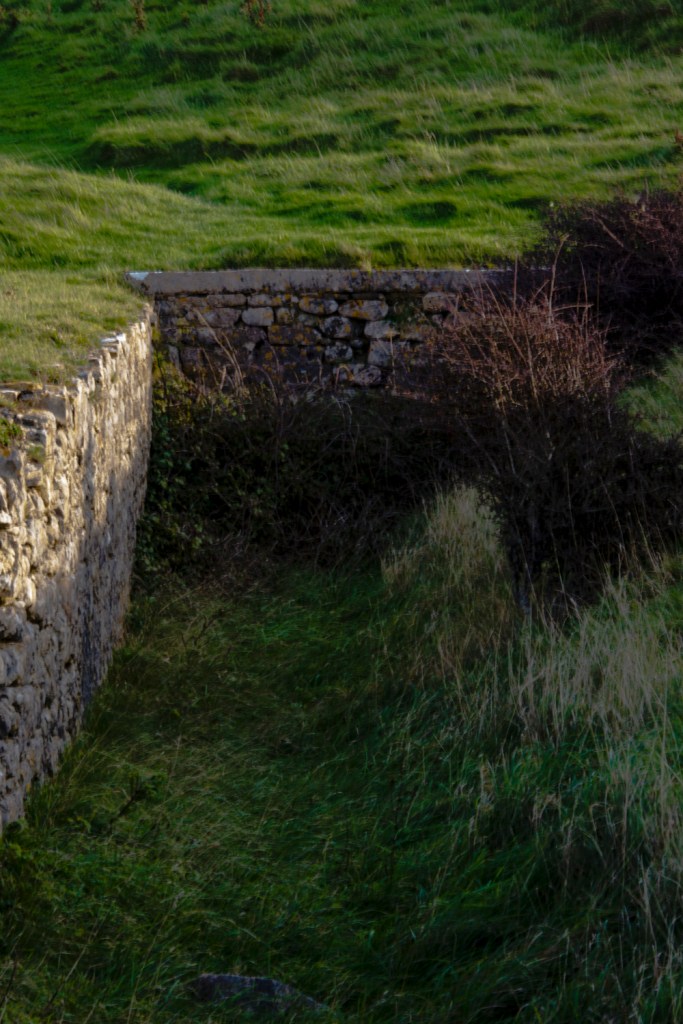
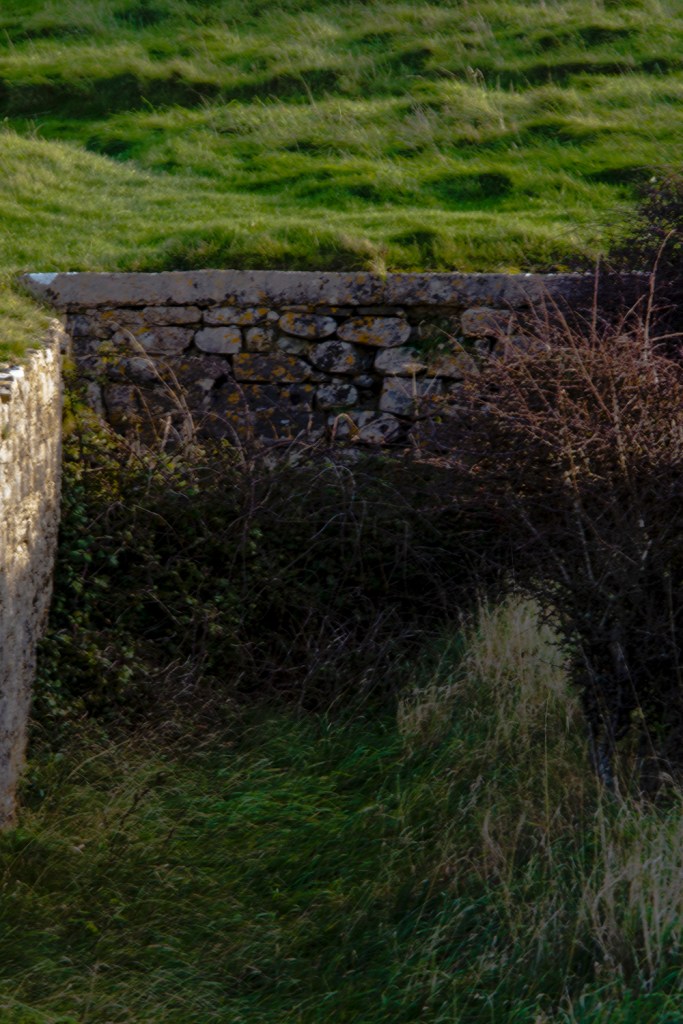
While away for a weekend in Porthcawl, South Wales, we paid a visit to the village of Southerndown. On the headland are the ruins of a castle. One area provided the opportunity to capture some photographs in a way that meets the brief for this exercise.
While trying to take the photos a number of blurred images were immediately discarded. The blurring occured as a result of attempting to hold the camera without using a tripod in a windy location.
All photographs were taken using aperture mode. This resulted in the images being a lot brighter than I would have liked because of the aperture selected.
Each of the images have been processed in Lightroom using the same settings, which included changing the white balance to Daylight and then darkening the image using the Tone Curve.

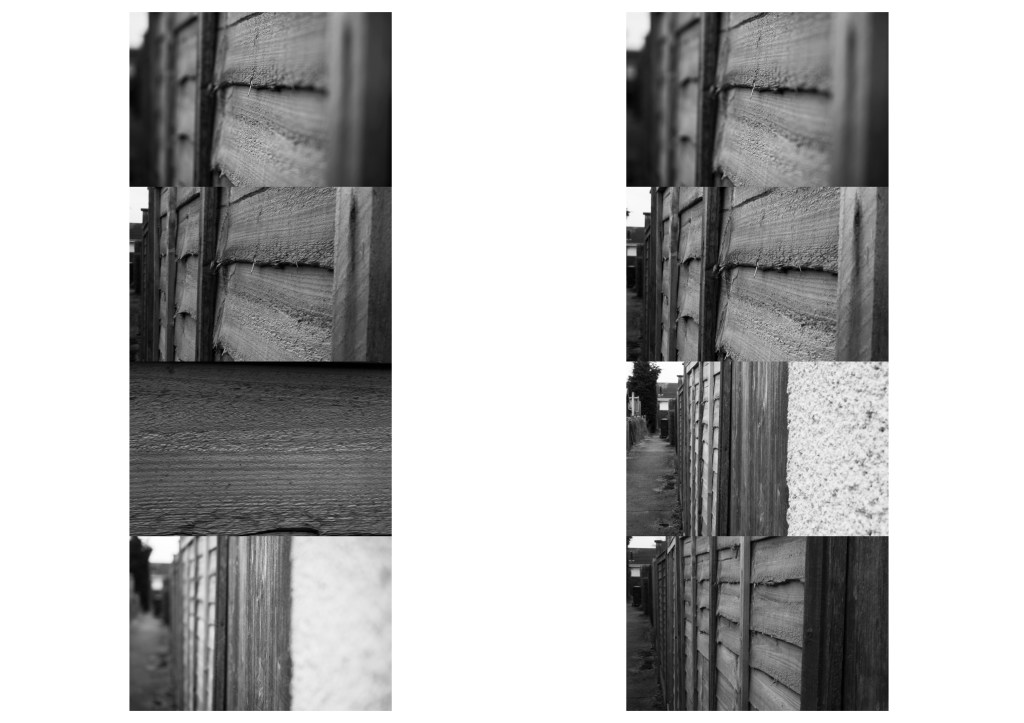
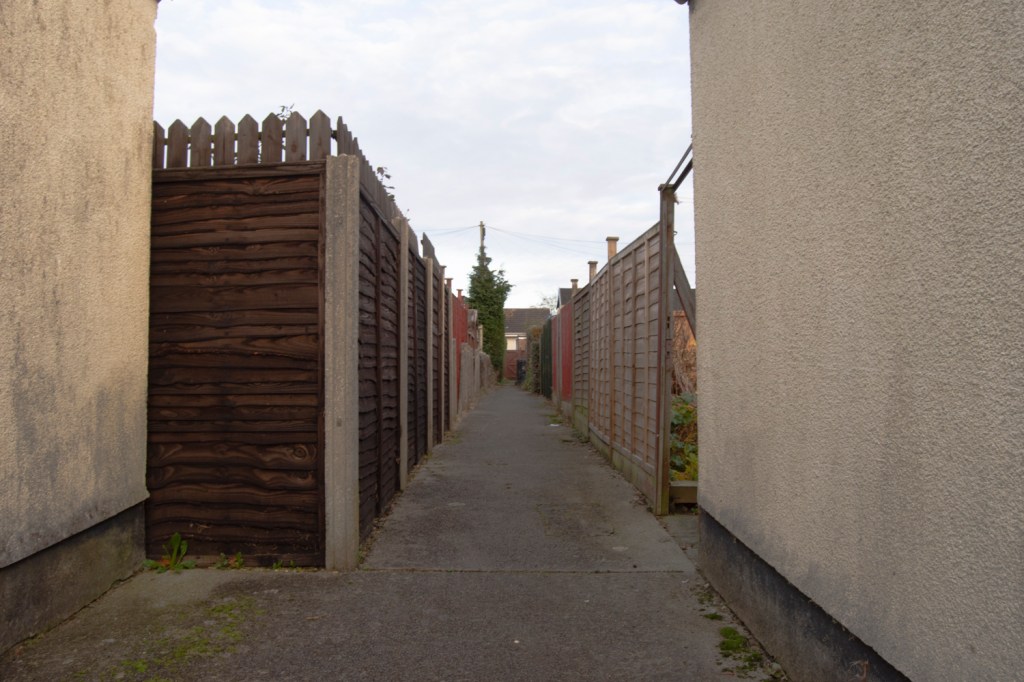
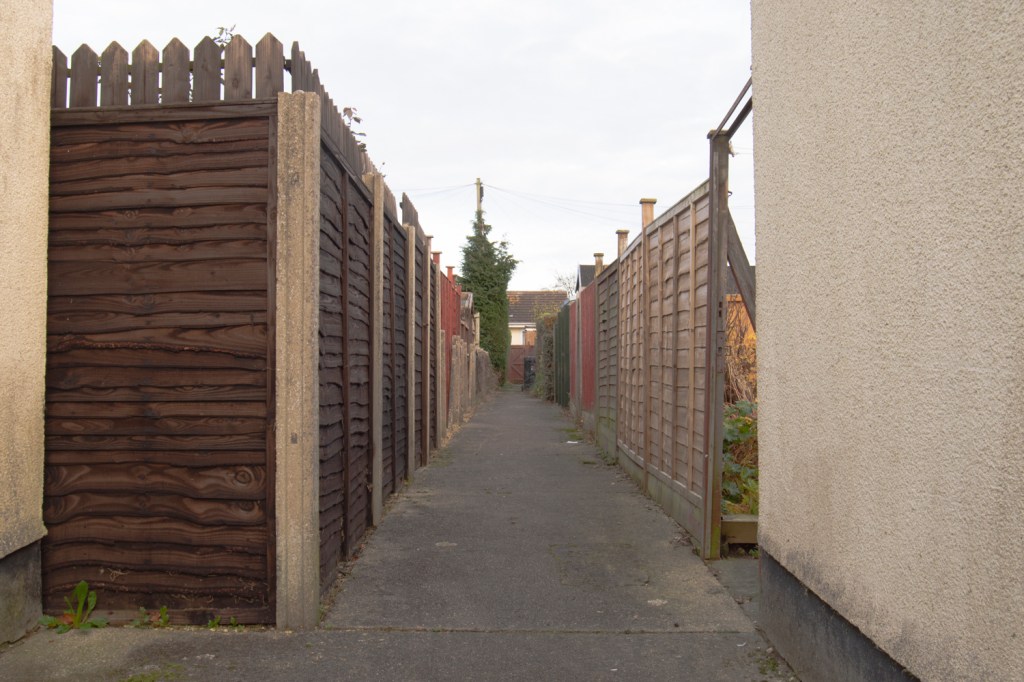
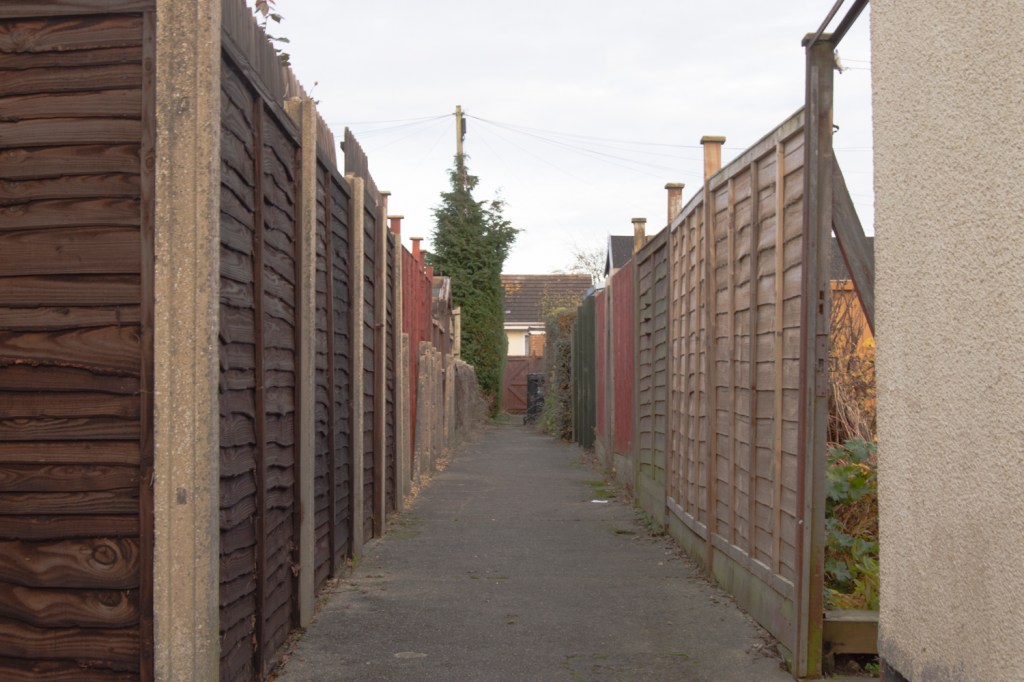
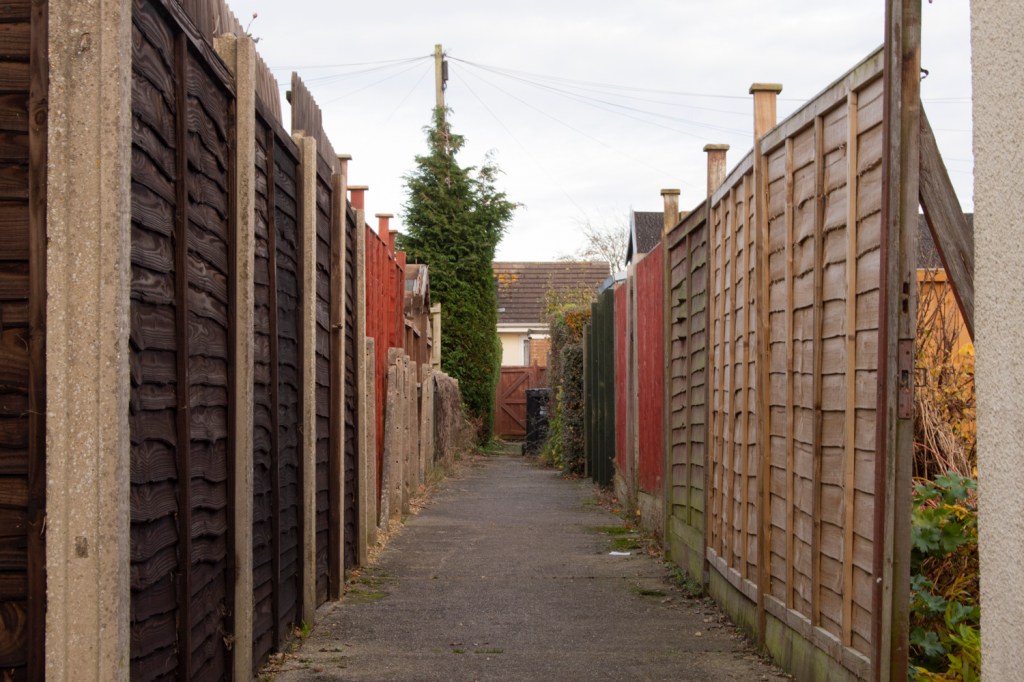
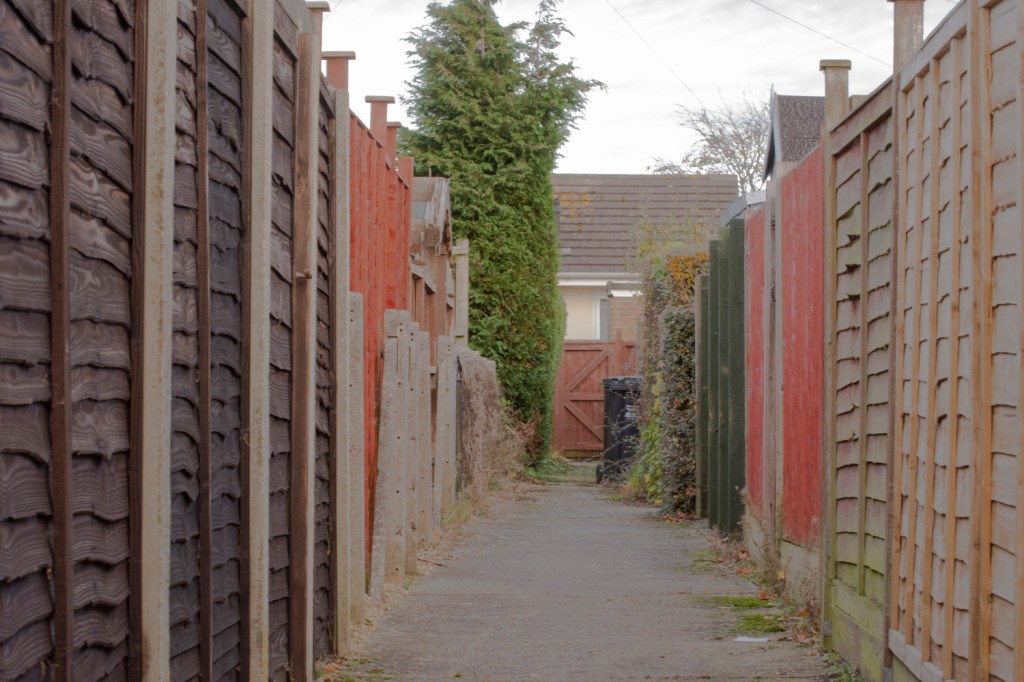
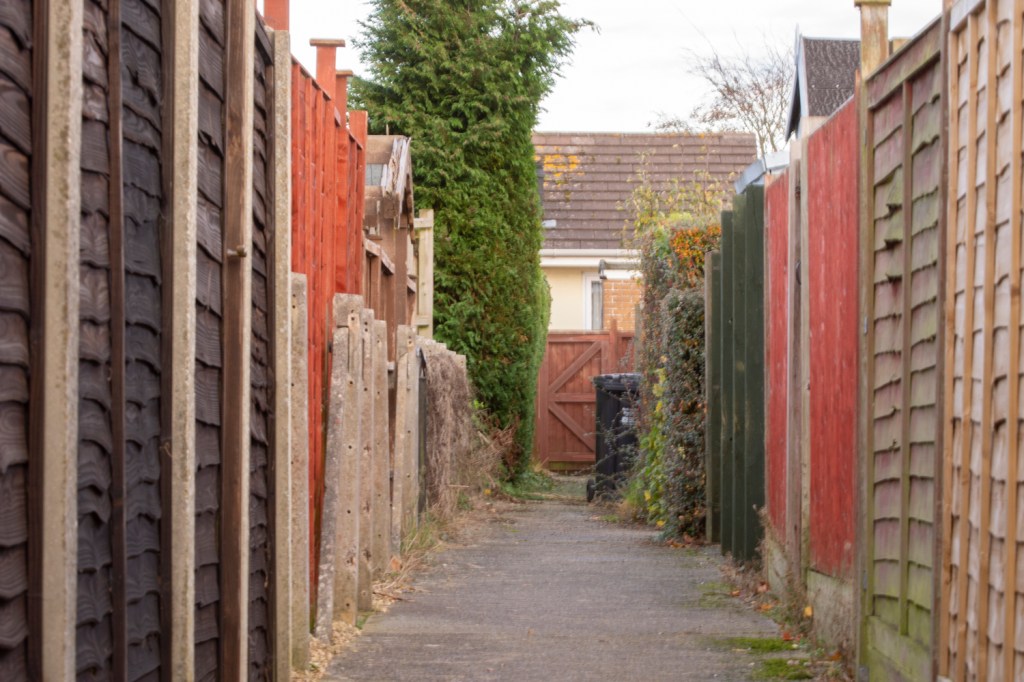
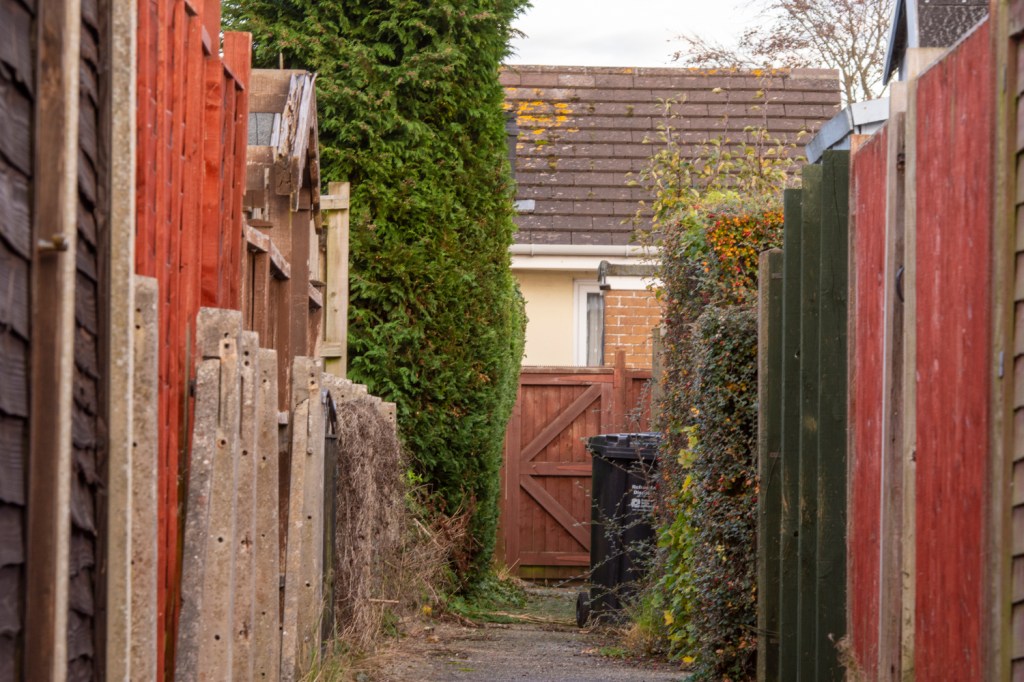
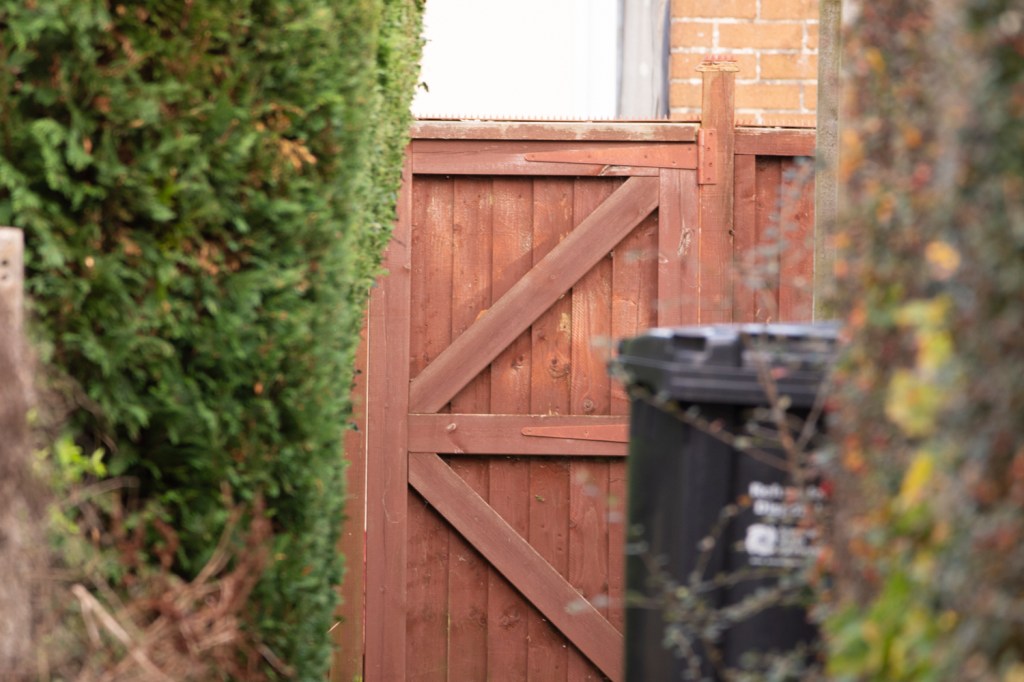
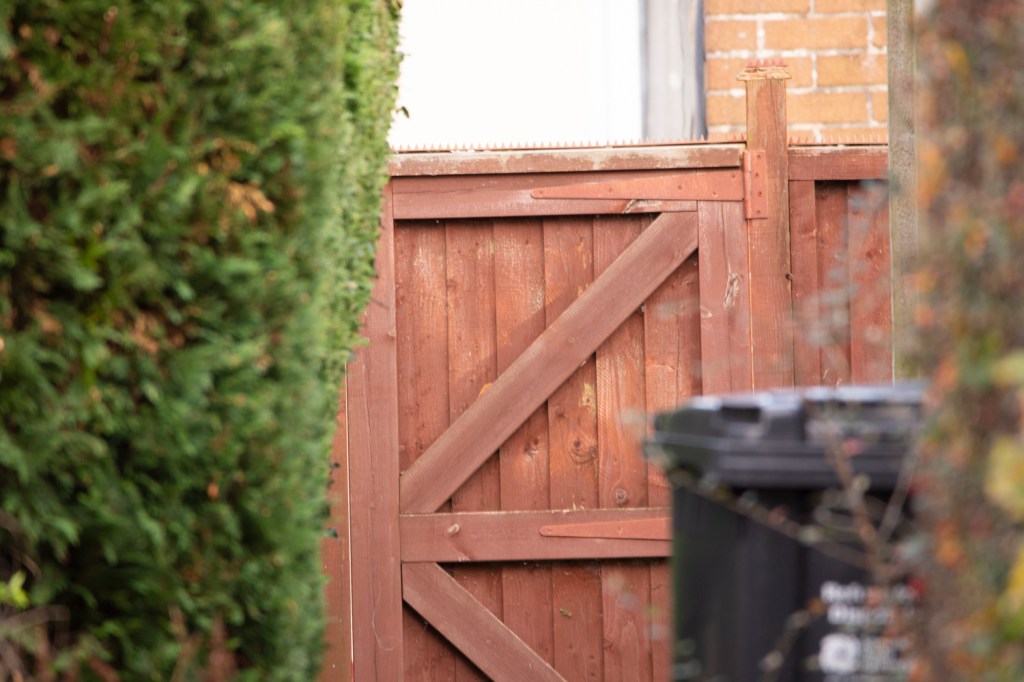
The second set of images below were taken in the alleyway running behind my house. This time I used a tripod to provide stability for the camera, as well as using 3 different lens allowing a range of focal lengths from 18mm up to 600mm to be used. Again a number of images were discarded during the editing process because of blurring. This time as a result of the weight of the longer lenses not being easy to support.

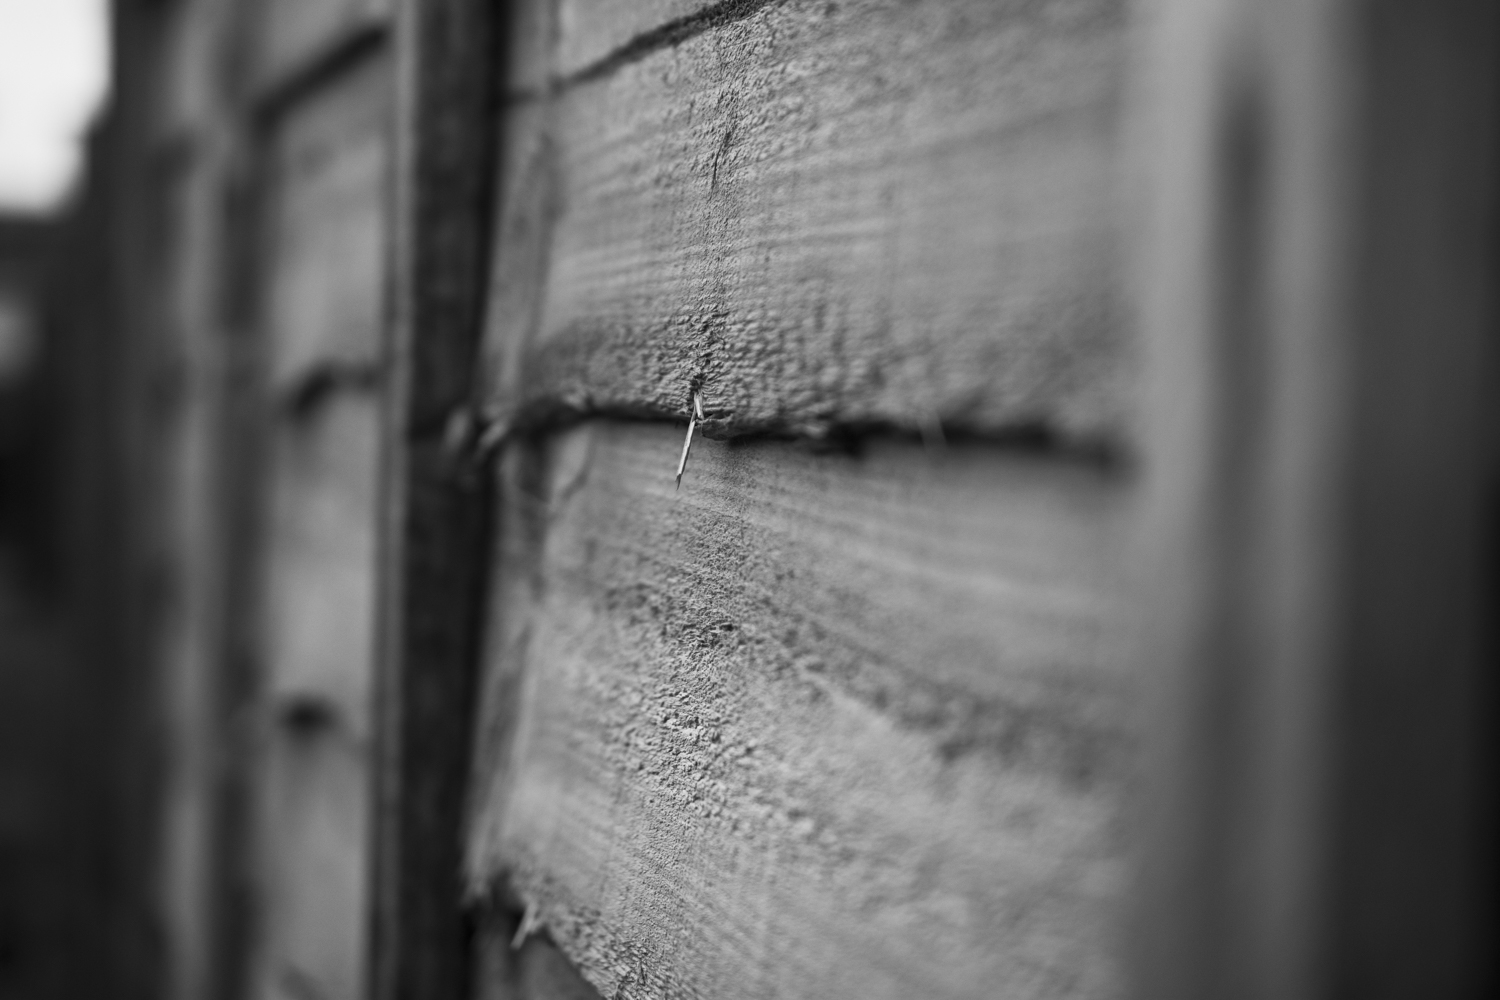
Final image
Taking inspiration from the examples or your research, create a final image for your sequence.
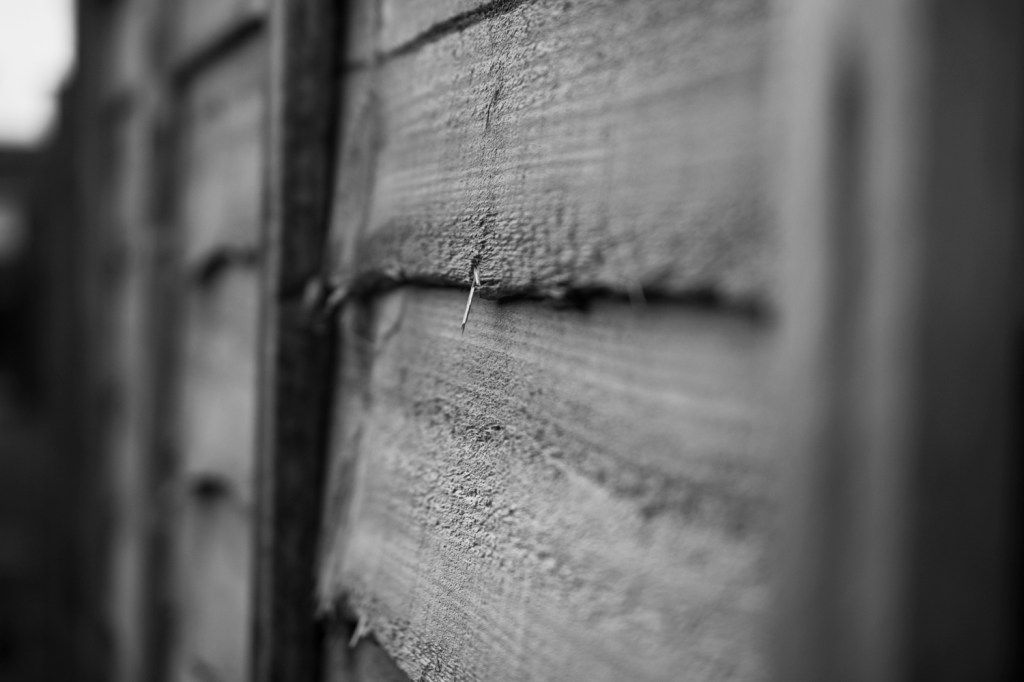
The reason I chose this image as the final for my sequence is because the single splinter of wood captures my attention. The texture on the wooden fence allows a viewer to zoom in and see finer detail. Although the image is black and white, unlike the previous images, I think that removing colour from this image helps remove distractions and allows the texture of the fence panels to come through more.
The photograph was taken using a 40mm macro lens which is why the depth of field is so limited. I tried going for a larger range, which would have allowed other parts of the image to be looked at it greater detail but those images just didn’t evoke the same feeling in me as this one does.
Contact Sheet for Final Image