
Brief
Use a combination of quality, contrast, direction and colour to light an object in order to reveal its form. For this exercise, we recommend that you choose a natural or organic object such as an egg or stone rather than a man-made object. Man-made or cultural artefacts can be fascinating to light but they’re already authored to some degree, which requires interpretation by the photographer; this exercise is just about controlling the light to reveal form.
You don’t need a studio light for this exercise; a desk lamp or even window light will be fine, although camera flash that you can use remotely is a useful tool. The only proviso is that you can control the way the light falls on the subject.
Take some time to set up the shot. If your shooting an egg, you should think about emptying it first so that it will stand up. This is really a topic for advanced student at Level 3 but you might get some help from Google. The background for your subject is crucial. For a smallish object, you can tape a large sheet of paper or card to the wall as an ‘infinity curve’ which you can mask off from the main light source by pieces of card. You don’t need to use a curve if you can manage the ‘horizon line’ effectively – the line where the surface mets the background. Taking a high viewpoint will make the surface the background, in which case the surface you choose will be important to the shot.
Exposure times will be much longer than you’re used to (unless you’re using flash) and metering and focusing will be challenging. The key to success is to keep it simple. The important thing is to aim for four or five unique shots – either change the viewpoint, the subject or the lighting for each shot.
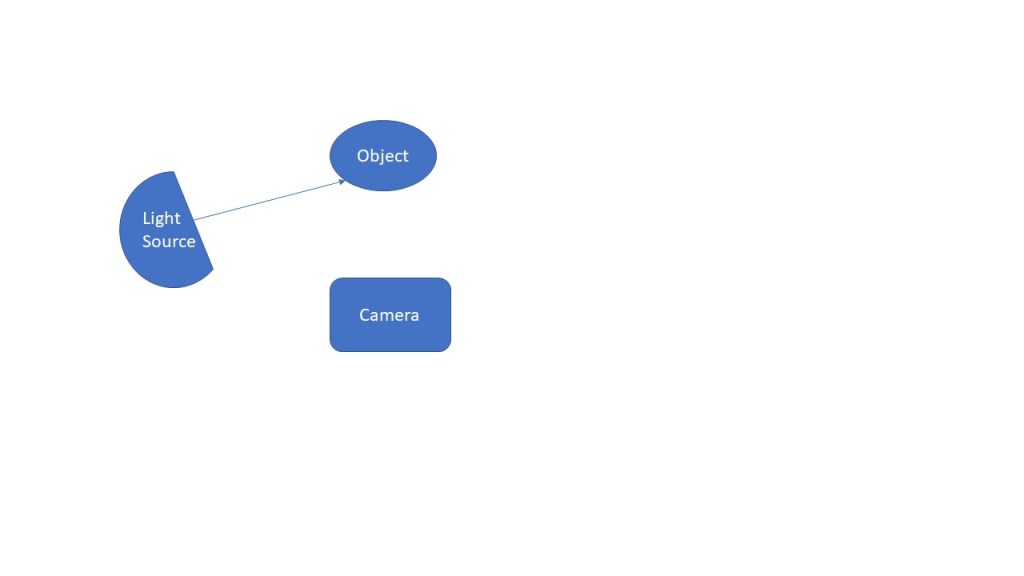
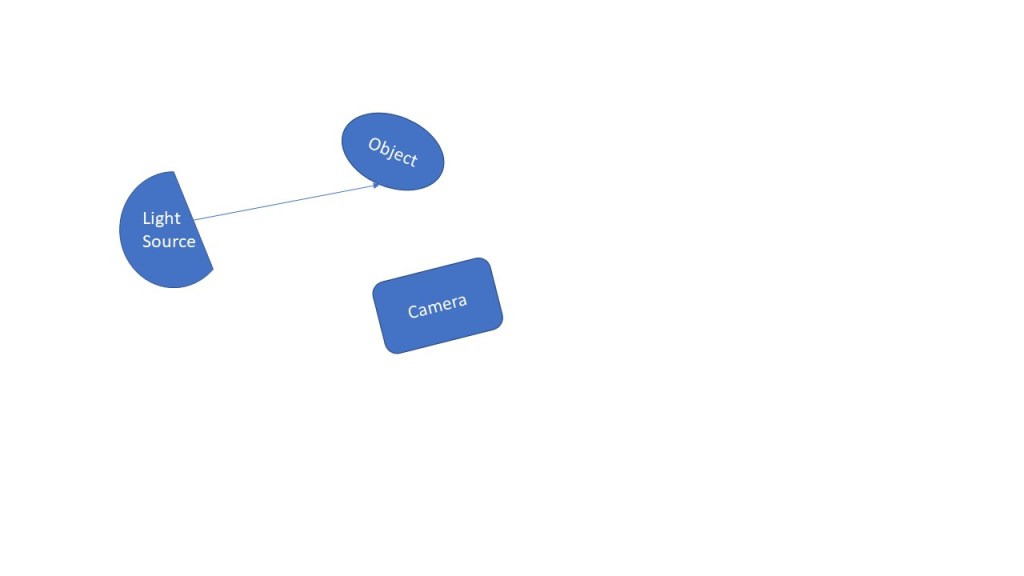
Add the sequence to your learning log. Draw a simple lighting diagram for each of your shots showing the position of the camera, the subject and the direction of key light and fill. Don’t labour the diagrams; quick sketches with notes will be just as useful as perfect graphics.
Exemplar: https//ivanradman.wordpress.com/2015/12/15/4-4
Research
Jean-Baptiste Huynh
Jean-Baptise Huynh is a French photographer born in February 1966. His mastery of photographic lighting and printing resulted in a personal style.
Huynh’s images are lit in such a way that the eye is drawn to particular areas while other areas fade into, or become, the background.

In the image above, the focus of is on the hand. The light is used to draw attention away from the body behind it and your attention is directed to the fingers and the lines on the palm of the hand. The intimate body area behind the hand fades into the background.
One image of Huynh’s is the inspiration for what I am planning on developing for my assignment.
Exercise
For this exercise I decided to photograph some stones that I had lying around at home. I used natural light from a window, my Nikon camera with a 40mm macro lens. All images were captured with the stone placed on a desk with a slightly reflective surface.
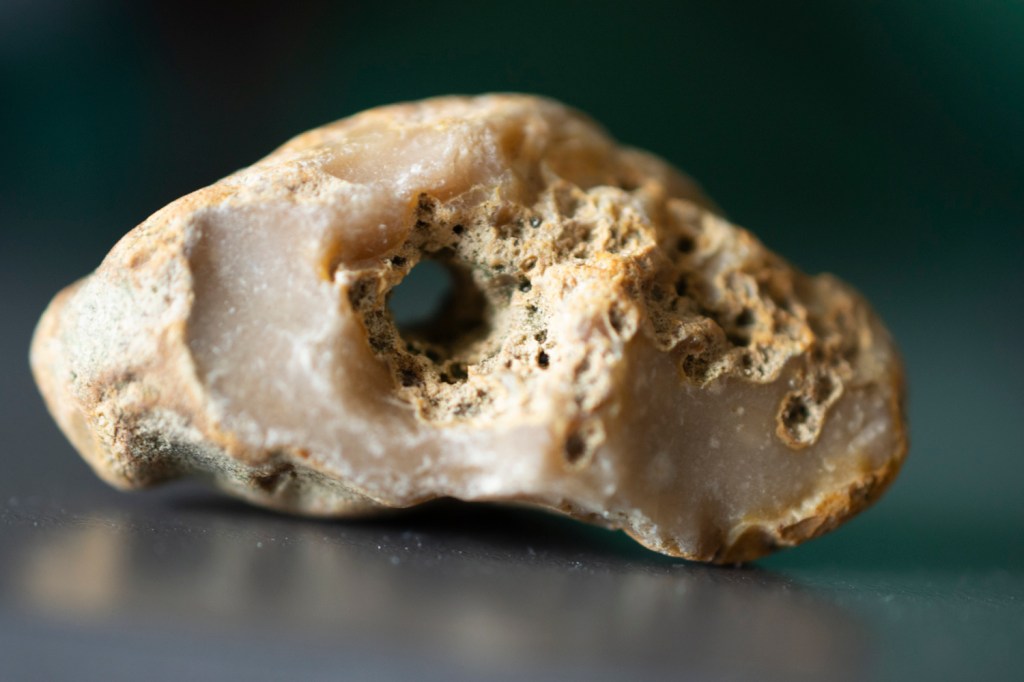
For the image above, as with all the images here the light was from the left. The camera and orientation of the stone were manipulated to achieve results.
In the above case the camera was positioned in front of the stone. This allowed shadows to be visible inside the hole through the stone and some of the pitting. The left hand of the stone appears brighter, and the colour a lot more muted, than the right-hand side where the colour of the stone is much stronger.
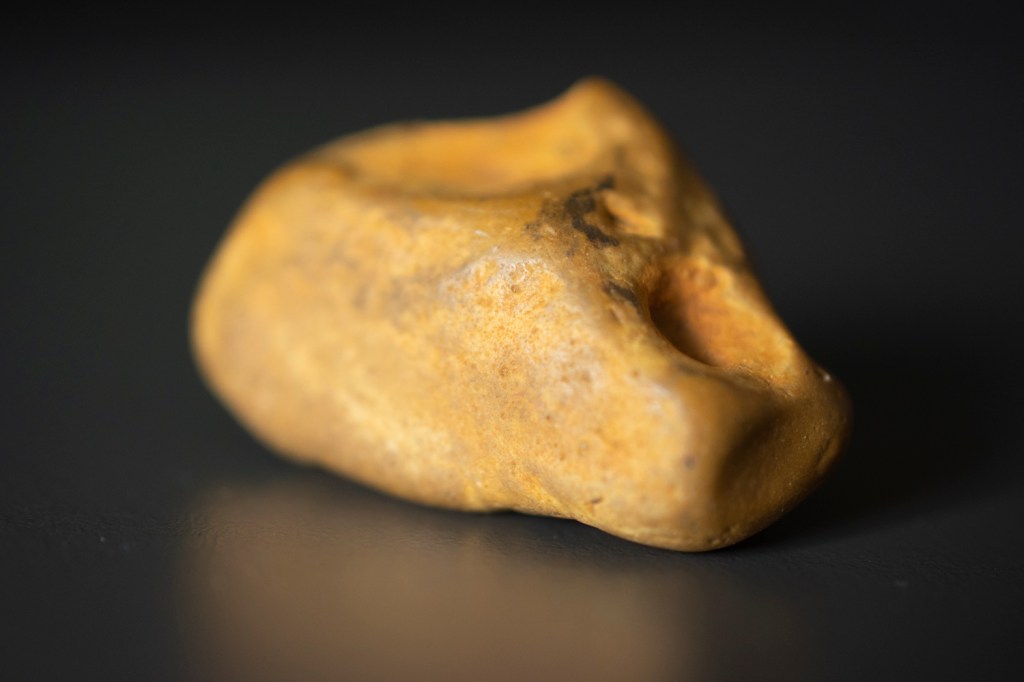

In the above image the object was rotated so that it was at more of an angle in relation to the camera. The large area of the stone is reflecting a larger portion of light and it is very clear where shadows are forming on the surface of the stone because its shape is blocking light from reaching those areas. Rotating the stone to smaller or larger degrees would have affected how much shadow would have been visible.
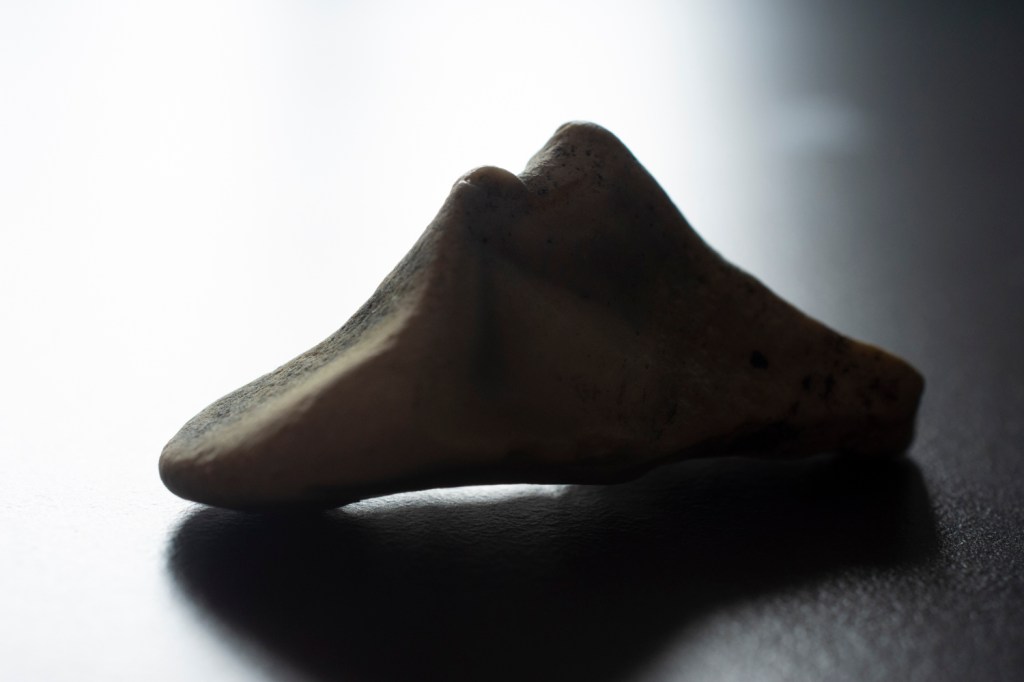
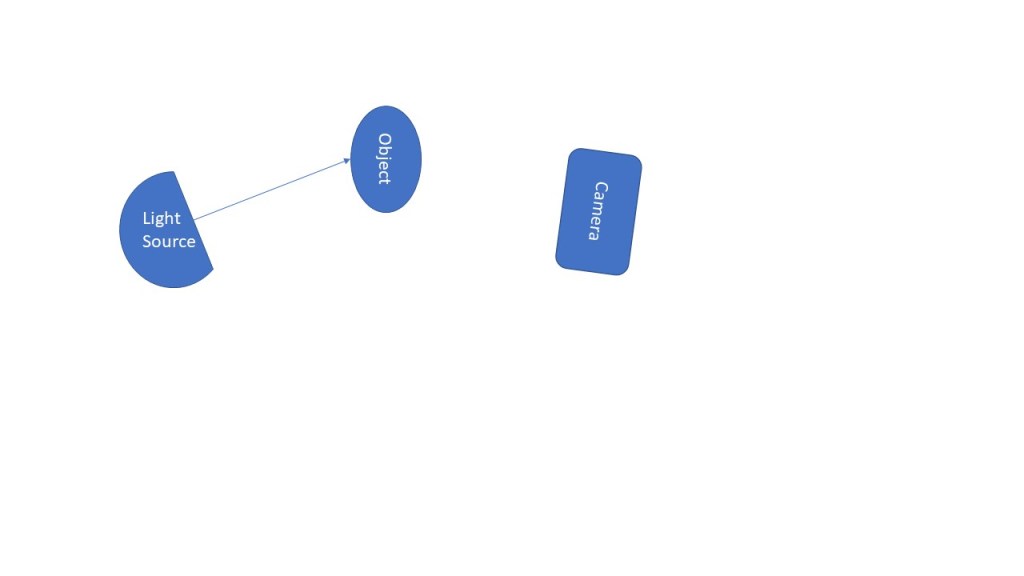
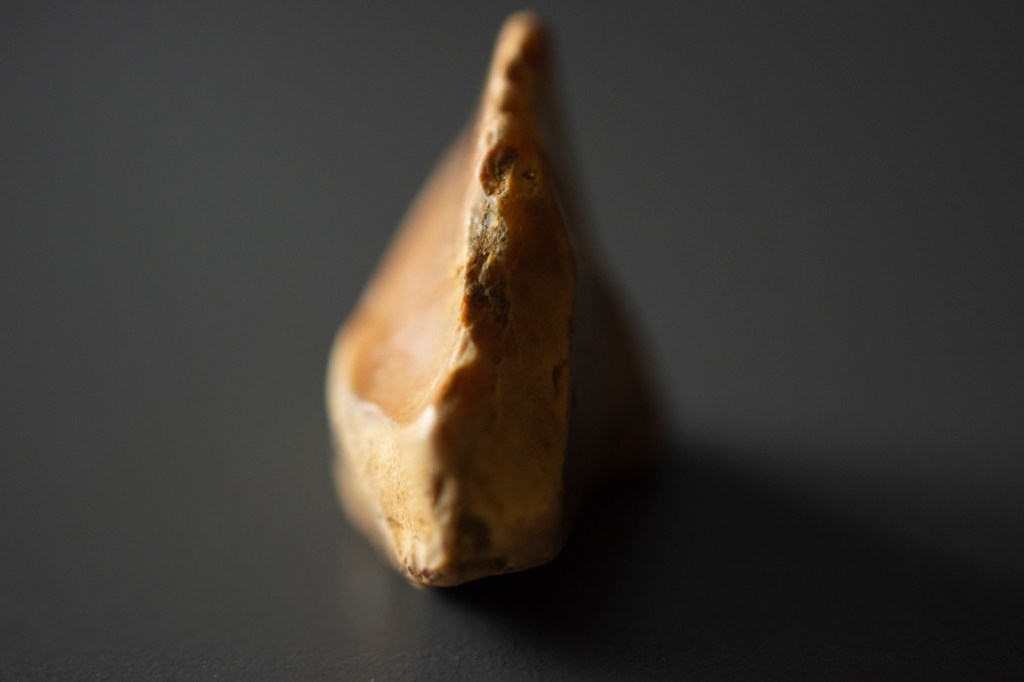
In the image above the camera was positioned so that it was almost directly behind the stone in relation to the light source. This resulted in a large portion of it being in shadow. The parts of the stone that are in shadow, but which are more easily visible have a strong contrast to the areas around them. For instance, the faint black line seen just to the left of the middle of the stone is, very dark compared to the pale stone around it.
Where the stone is more accessible to the light the surface can be seen in a lot more detail as the light picks out the dark points in that area.
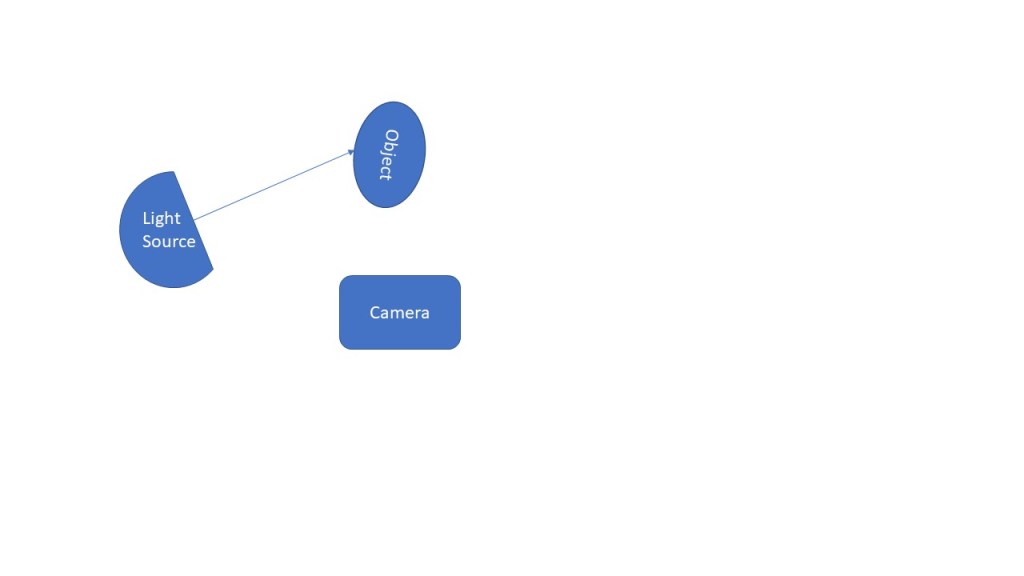
In the above image I put the camera so that it was in its original position in front of the stone. I then rotated the stone so that the edge was 90 degrees to the light source. This allowed the nicks in the edge to be made out but also resulted in a more marked line between light and shadow.
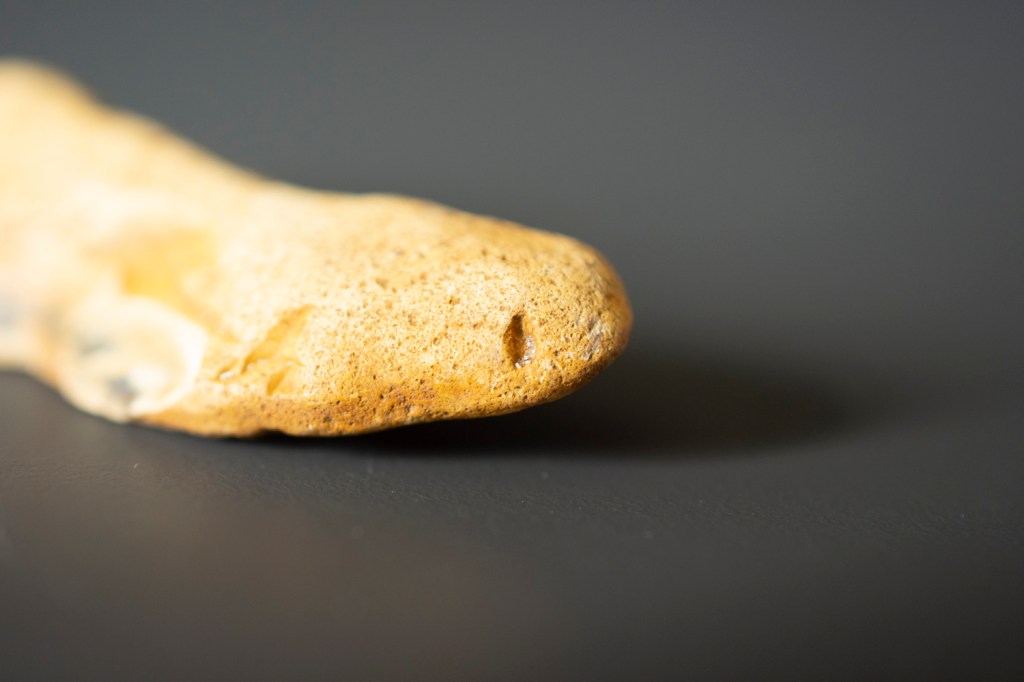
For the final image above, I decided that I wanted to see if I could disguise the object by positioning it in such a way that the light might blur what it was. At the same time, I decided to compose the photo so that only part was visible.
After processing the image, I shared it with friends on Facebook and asked them what they thought it was. The responses ranged from a stone to a piece of bread, to a snake. The latter being what I was aiming to portray in the image.
References
- Jean-Baptiste Huynh | artnet (s.d.) At: http://www.artnet.com/artists/jean-baptiste-huynh/ (Accessed 24/08/2020).
- Jean-Baptiste Huynh | Crane en Cristal (2012) | Available for Sale | Artsy (s.d.) At: https://www.artsy.net/artwork/jean-baptiste-huynh-crane-en-cristal (Accessed 24/08/2020).
- Jean-Baptiste Huynh – artiste (s.d.) At: https://www.galerie-lelong.com/en/artiste/42/jean-baptiste-huynh/ (Accessed 24/08/2020).
